A “how-to” for fly tying with essential tools and materials
Fly Tying for Beginners: Where to Start
Fly tying can seem intimidating at first. However, once you understand the basics, it becomes a relaxing and rewarding hobby. Whether you fish often or just want to try something creative, fly tying gives you a hands-on approach to connect with the sport.
Let’s break it down step by step.
What Is Fly Tying?
Fly tying is the art of creating artificial flies used in fly fishing. You use thread, feathers, fur, and other materials to imitate insects or baitfish. These flies attract fish and make your time on the water more productive—and more fun.
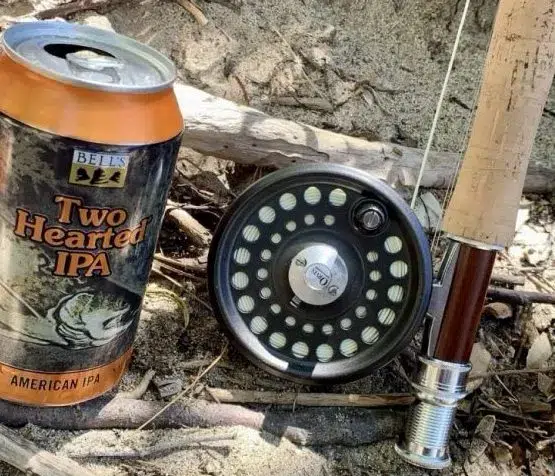
Once finished with your first fly to cast on the river. Read my blog, Casting Memories Fly Fishing

Why Start Fly Tying?
There are a few good reasons:
• Save Money: Tied flies are often cheaper than store-bought.
• Customize Your Flies: You can match local hatches or try new patterns.
• Relax and Focus: Fly tying is both creative and calming.
So, how do you begin?
The Basic Fly Tying Tools You Need

Before you can tie your first fly, you’ll need a few essential tools. You don’t need to spend a lot to get started.
- Vise
This holds the hook firmly in place while you tie. Look for a beginner-friendly vise that’s adjustable and stable.
- Bobbin
This tool holds your spool of thread and lets you control the tension as you wrap.
- Scissors
Sharp, fine-tip scissors help you trim materials cleanly. Keep them just for fly tying.
- Bodkin
A needle-like tool used for picking out fibers and applying head cement.
- Whip Finisher
This helps tie off the thread neatly when you finish your fly.
- Hackle Pliers
These help you grip and wrap small feathers without slipping.
Basic Fly Tying Materials
Once you have your tools, you’ll need materials. These are the basic supplies most beginner patterns use:
- Hooks
Start with sizes 10–14 for dry flies and nymphs. These are easier to work with.
- Thread
Choose 6/0 or 8/0 thread. Black or olive is a good start.
- Feathers (Hackle)
Used for dry fly wings and legs. Get a small patch of rooster neck hackle.
- Chenille
This fuzzy material creates thick, visible fly bodies.
- Dubbing
Fine fibers that form soft, realistic bodies when spun onto thread.
- Marabou
Soft feathers are used in streamers and tails for movement in the water.
- Wire or Tinsel
Adds weight and flash and helps secure materials.

Beginner Fly Patterns to Try
Start simple. These three flies are great for learning:
1. Woolly Bugger – Easy to tie and works in many waters.
2. Zebra Midge—A simple nymph pattern that catches trout.
3. Elk Hair Caddis—A classic dry fly and great skill builder.
Tips for Learning Faster
• Watch Videos: YouTube has countless tutorials. Choose a slow-paced one with clear steps.
• Take Your Time: Don’t rush. Better flies come with practice.
• Use a Kit: Beginner kits offer tools and materials in one box.
• Stay Organized: Keep your workspace clean to avoid frustration.

Final Thoughts
Fly tying isn’t just about making flies. It’s about learning to observe nature, build skill, and enjoy the process. With a few tools and some patience, anyone can get started. The best way to learn is to tie your first fly today.


You must be logged in to post a comment.